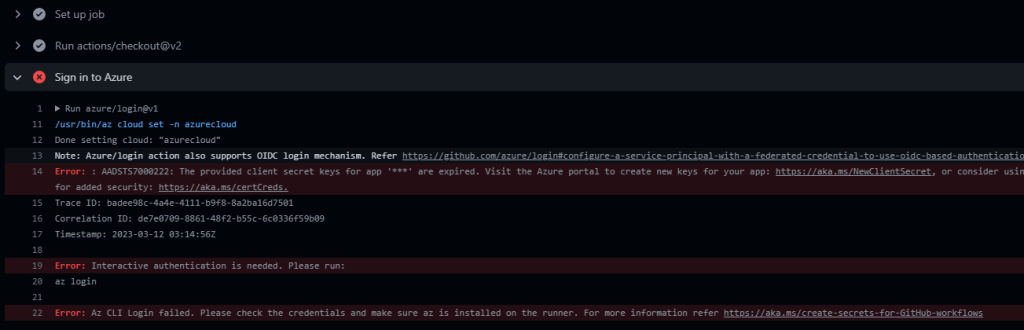
In this post, I will be addressing a common an error that could be seen in your GitHub actions, once in a while, called “Error: Az CLI Login failed. Please check the credentials and make sure az is installed on the runner”.
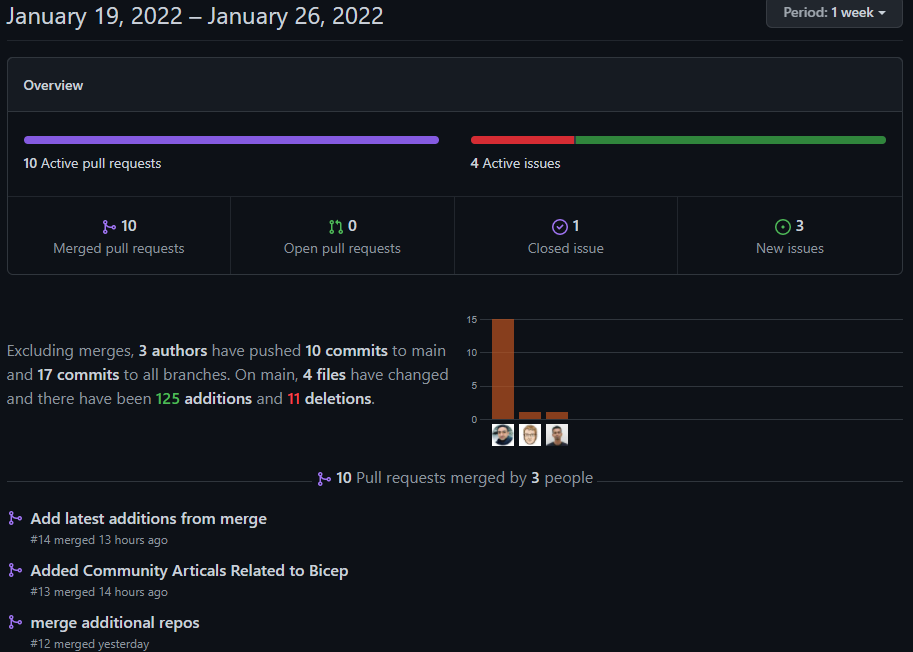
I am very glad to announce the latest stats and progress on our community repo “Awesome Azure Bicep”!
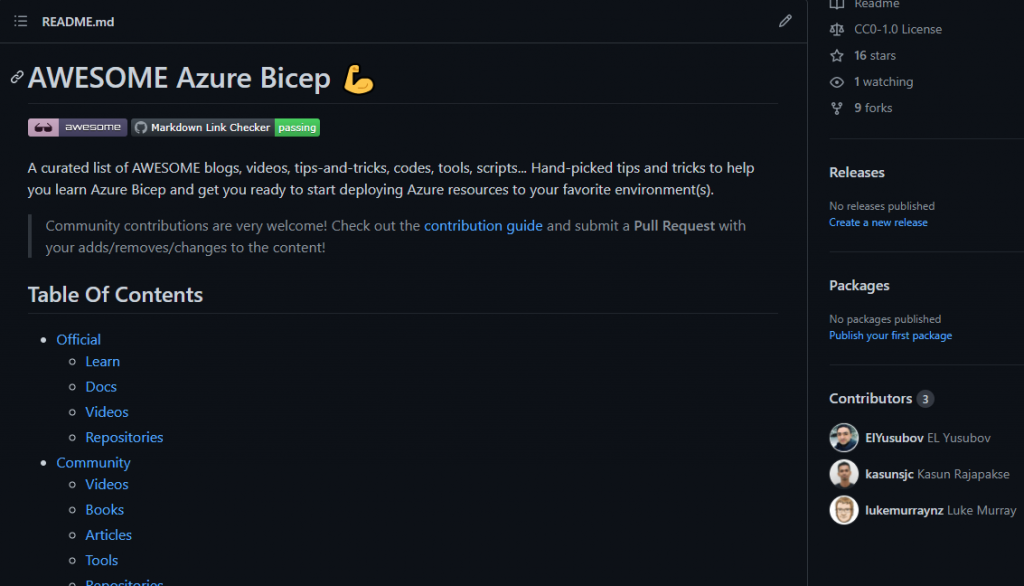
What is Awesome Azure Bicep
This is a GitHub repo that helps you to learn and discover resources that are helping you with the adoption of Azure Bicep – a new #infrastructureascode approach to manage Azure resources.
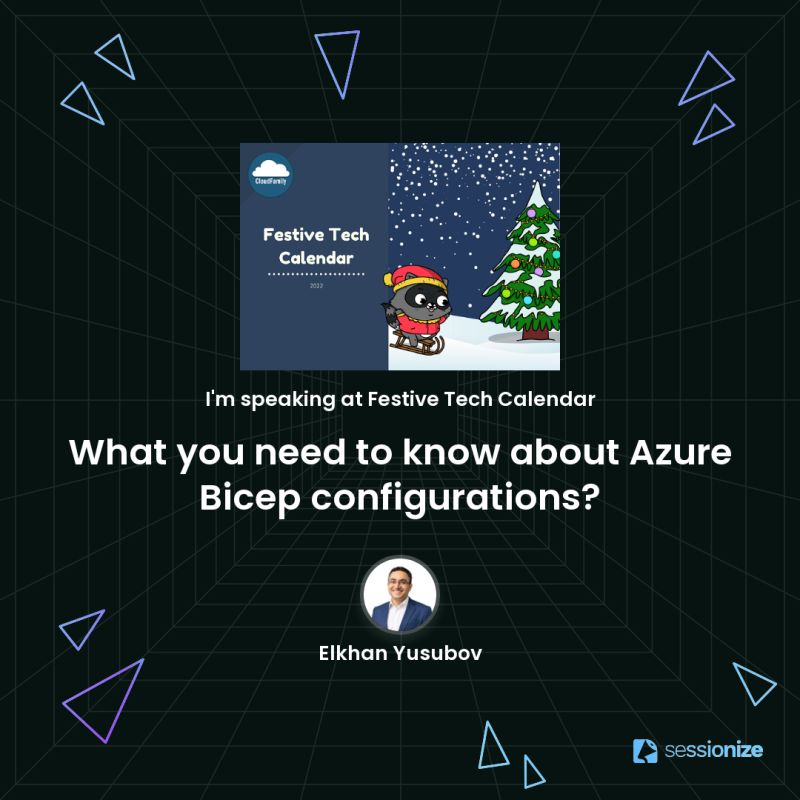
As I mentioned in a previous post, we are in a festive December month with a great event! The Festive Tech Calendar is in a full swing and presents new sessions to everyone, every day.
If you missed my live session, No problem. I have recorded it and you can re-watch it 🙂
Check this session below, if you want to learn important things on how to configure your Azure Bicep environment and use Azure security resources with them!
I hope you are all excited about the upcoming special, a month-long event. The Festive Tech Calendar 2022 Session details are coming soon!
This year, organizers are aiming for something a bit different and more joyful. It will be a joyful learning experience throughout the month of December as the event will bring you much new content from different speakers and communities around the globe.
We are presenting
Awesome news came from the Festive Tech Calendar, as I am presenting this year too, with the recent content on Azure Bicep configuration details.
Thank you, organizers, I will be doing a session with a holiday theme to help our community members with configuring the Azure Bicep development environment.
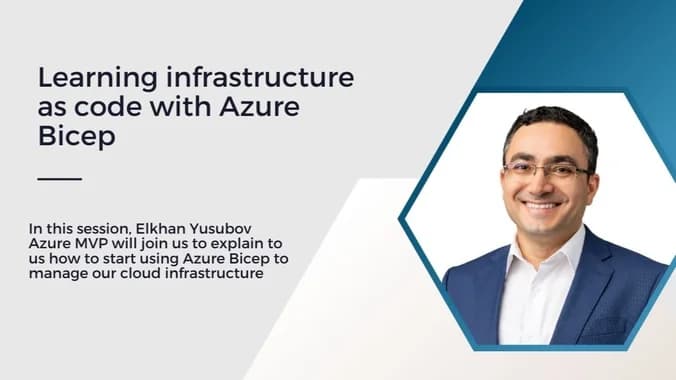
I am very honored to prepare an Azure Bicep session for the Azure Dominicana meetup group and would like to thank Gregory for extending his invitation.
As you know, the Azure Bicep language brings a new Infrastructure as a Code (IaC) approach to managing your Azure resources in a clean way. In addition, we also have a classic ARM JSON template that is traditionally used to define Azure infrastructure resources in a declarative way. However, it is not easy to author and maintains ARM JSON templates when your project grows in complexity.
That is when Azure Bicep comes into play, to simplify the management of your infrastructure while re-using code. So, please join my session and I will explain to you how to start using Azure Bicep and easily manage your cloud infrastructure.
Azure Dominicana user group
“This Meetup is for all those interested in knowing and learning more about Azure and trying to keep up with the latest trends and new features. Let’s talk together about interesting topics in our language and let’s all grow together in new knowledge and experiences!” – according to the Azure Dominicana meetup page.
Summary
If you are also excited about this session, please register here. I hope to hear from all of you in this session and address the questions that you may have.
Updates
Please, check the meetup homepage as I have been told that the session recording is going to be uploaded soon. Thanks!
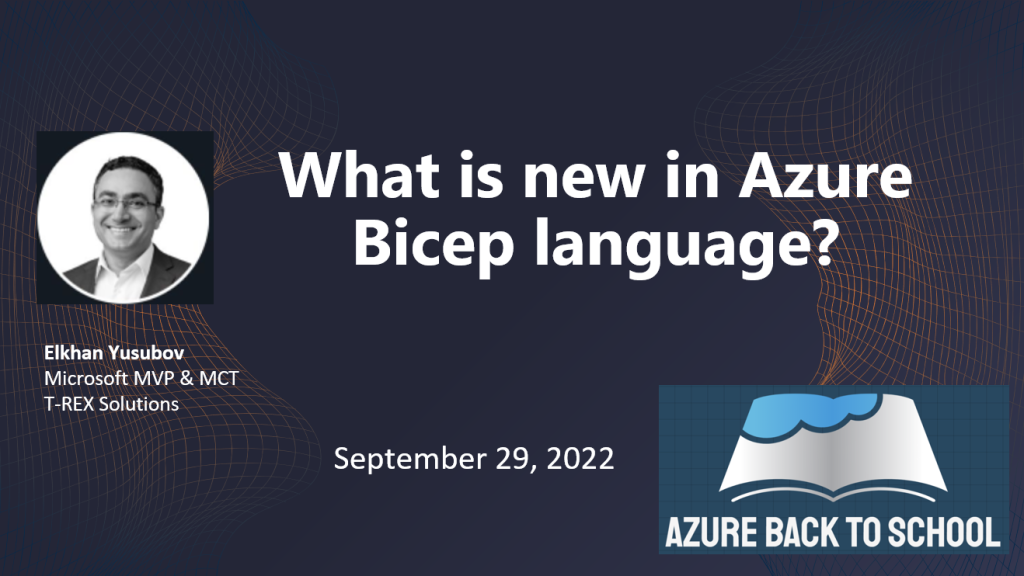
The Azure Back to School event is still in full swing and I am happy to announce my second session on this great event.
My session #2
This session is focused on new features and capabilities of Azure Bicep’s latest language. But don’t worry if you never used it before as I will have a brief introduction into what it is and where it could help you.
In this demo heavy session, I am planning to demonstrate how it is simple to create, manage a modularized Azure infrastructure-as-code, while using familiar tools.
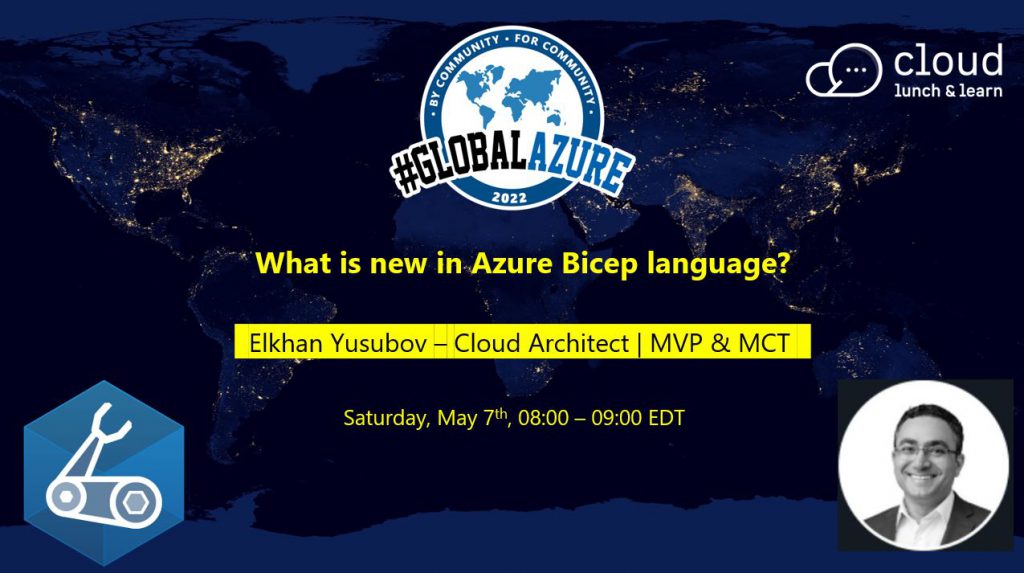
This week, I am presenting at GIRA ONLINE SPEAKERS LATAM 2022 event. It is one of the largest technology events that is made available to all of Latin America and Microsoft communities.
Please, check the following LinkedIn post where I made announcements about this session.
My session is focused on a brief introduction to IaC with Azure Bicep and Productivity tips for setting your infrastructure-as-code on your VS Code environment.
recorded session:
The Azure Bicep – Productivity tips session has been published on YouTube channel.
Please, check it out and let me know your feedback.
Thank you for following the #CloudMarathner journey!
I had a great joy while interacting with a number of attendees. Thank You for checking this blog and please feel free to reach out back with your questions.
As you might know, the Azure Bicep language brings a new Infrastructure as a Code (IaC) approach to manage your Azure resources in a clean way. We also have a classic ARM JSON template that is/was traditionally used to define Azure infrastructure resources in a declarative way.
However, it is not easy to author and maintain ARM JSON templates when your project grows in complexity.
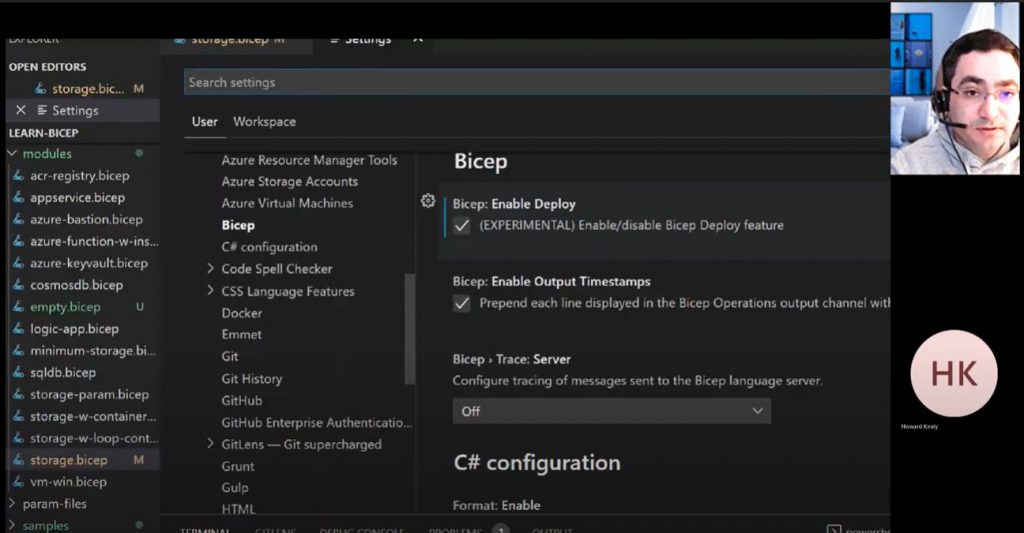
A demo screenshot from the session
But, I have good news for you – Microsoft infrastructure team has been working on new language to ease this process. Thus, an Azure Bicep language is created to simplify management of your infrastructure while re-using the code.
In this, I have introduced new features and capabilities of Azure Bicep v0.5 & v0.6 language. You also see demos on how it is simple to create, manage a modularized Azure infrastructure-as-code, while using familiar tools and extensions on VS Code.
A screenshot from the slides
If you missed this session, no worries, you are covered, as this session was recorded. It is freely availiable on the #cloudmarathoner 🖐 ⏩ YouTube channel here.
The slides and as well as links to the recommended resources are posted on my 🖐 🍴 GitHub repo here.
Please, feel free to check up this GitHub repo, share & fork it as you like 👍
The infrastructure-as-code (IaC) is not a just a “buzzword”, it is brought by a necessity to manage your digital estate more predictably while source-controlling the changes that are introduced over time. In its turn, this approach makes it easier to keep your workload environments compliant and saves ton of time in troubleshooting, development and auditing your resources
In this post, we will look into the necessity of child resources in Azure and how Bicep language simplifies their management and declaration as a code.
why azure bicep child resources?
There are a number of scenarios where it makes perfect sense to declare resources within the context of their parent. For example; storage blob containers could not be declared and used without a parent storage account.
In addition to Blob containers, there are many other child resource types in Azure like:
Virtual network subnets
SQL databases
Azure Cosmos DB containers
SQL databases
VM extensions
How could you define child resources?
Unsurprisingly, there is more than one way to define Azure Bicep child resources. Each approach will depend on a specific use case that you or your team is looking forward to delivering.
Further we will use the example of a storage account resource to describe different options of child resource declarations. This will make it easier to describe the concepts and available options to you. However, these concepts could be easily used on other Azure services like VMs and VNets that do have child resources too.
Option-1 : Child resource created with reference to parent
Our first option is declaring a child Blob container resource as a separate independent resource with a reference to a parent resource. Like, it is illustrated on the example screen-shot from the Learn-Bicep repo.
For this option to work, we would need to declare an Azure Storage Blob service too. Let’s look into how it could be done while considering a second option.
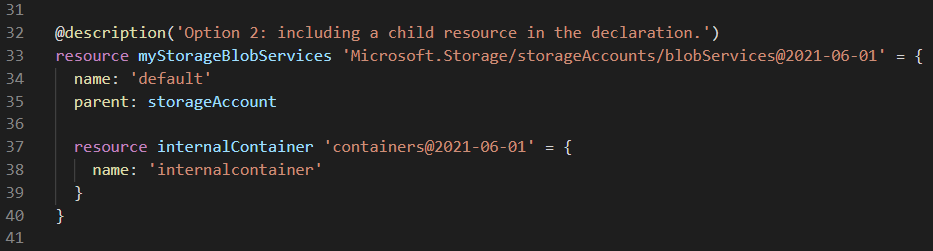
Option-2 : Including a child resource in the declaration
Our second option is declaring a Storage Blob service resource as a separate independent resource with a reference to a parent Storage Account resource. Then it has an inner declaration for a container child resources within the Storage Blob service.
Let’s look at the example screen-shot from the Learn-Bicep repo.
This option might be an ideal approach if you have few child resources in your declaration. However, it would not be the most efficient one to use, if the number of child resources you are required to deploy is in dozens, hundreds or even thousands.
Option-3 : Automation and looping with enumeration 🙂
The final option will serve you well, if you have 100s of pre-defined containers that should be deployed into your Azure environment.
By leveraging the “iterative loops” in Bicep we can easily iterate over these containers while creating them in a compact and repeatable manner, like in the following screen-shot from the repo code.
Looking for more Bicep goodness?
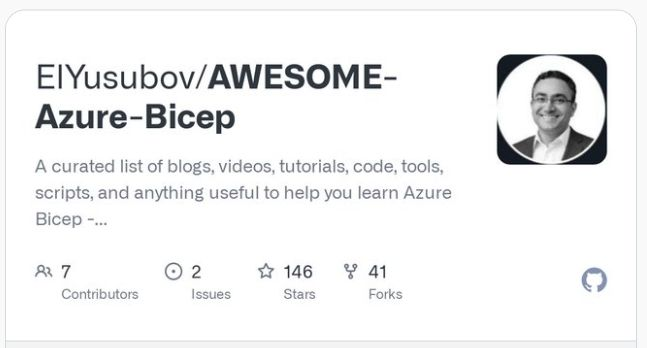
A community of developers and engineers started a great initiative – to help everyone to learn Azure Bicep for #free by sharing & contributing to the AWESOME-Azure-Bicep GitHub repo.
As you were informed in my last post, I have published a new GitHub repo to help the community and new learners with Azure Bicep resources. The new repo – AWESOME Azure Bicep 💪 is getting a high interest from all of you.
Thank you very much for accessing, starring ⭐ and forking 🍴 it! If you learn about it now, please check it out here.
And this is not all. We have plenty of room to grow this repo with the latest contributions from you.
Two new contributors
In less than a week, we got two great contributions from Kasun Rajapakse and Luke Murray 🙌. Thank you very much for your contributions!
Get started with Azure Bicep
Let’s step-up your game and start learning the latest 🚀 Azure #infrastructureascode language (aka, Bicep). I sincerely invite you to become a part of this really great “learn and share” initiative of Azure Bicep.
Share your interest and knowledge with the community by opening your very first GitHub PR.
Looking for a video course on Azure Bicep ?🤔 >> Azure Bicep First Look 👉 https://lnkd.in/eWsxf3hj is here to help!
Summary
This project is growing and let’s become a part of this Azure Bicep community !
Ready to make your first PR to Awesome Azure Bicep repo? Please check out the contribution guide or reach out if you need help in this process.

 Bicep – a new
  Check out a curated list of blogs, videos, tutorials, code, tools, scripts, and anything useful to help you learn
 and 40+
  from the