How to create a free, Azure Active Directory developer tenant? ๐Ÿค”

Hi Cloud Marathoners!

It is a pretty common situation when as a Developer you are not granted access to work with company Azure AD. And there are many reasons why corporate security / IT would be hesitant to provide that access.

However, this situation should not discourage you from experimenting and prototyping solutions that you have.

Let’s consider following two easy options to create a free Azure Active Directory with Premium (P1 or P2) trial licenses. This will enable you to install/create an app that requires Azure AD license, and start testing and validating your workloads right away:

Azure Active Directory voor Developers - ppt download

Option # 1: Microsoft 365 Developer Program

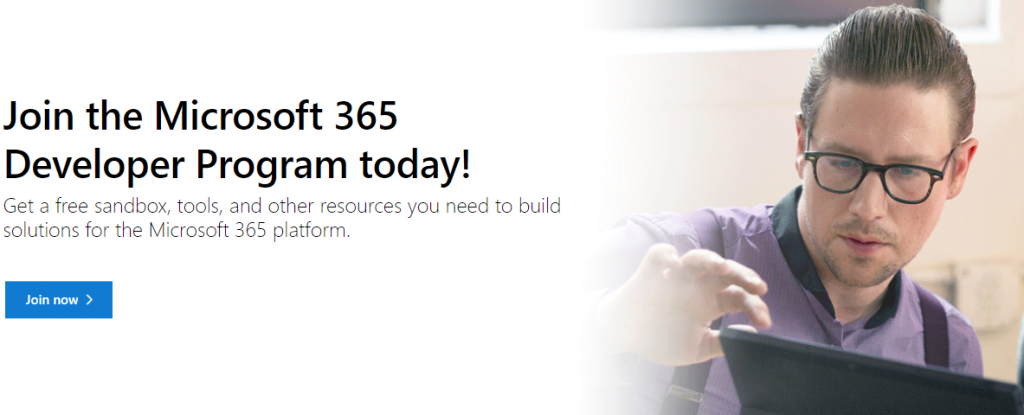
Join a free Microsoft 365 Developer Program and get a free sandbox, tools, and other resources you need to build solutions for the Microsoft 365 platform. Resources like an Azure AD with Premium licenses, pre-configured users, groups, mailboxes and etc.

Option # 2: Create an Azure trial account

Create a new free Azure AD account with a tenant and activate your Premium licenses in your new tenant. This is a classic option for anyone who is trying to learn Azure for the first time.

The Azure trial account will give you one month to play with Azure and Azure AD services, where you will get certain credits to spend on Azure resources. You will get an option to convert this trial subscription into a paid one at the end of the trial period.

How to Join Microsoft 365 Developer Program

My recommendation would be to sign up for the free Microsoft 365 developer program that gets renewed automatically, if you are using that account. Check out the following instructions on how to set-up one:

1. Click on the Join Now button on the screen

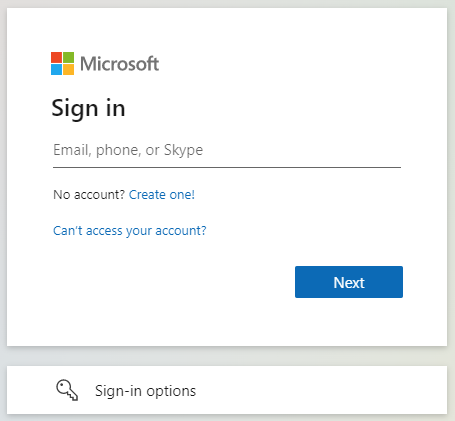
2. Sign in with a exisiting or new Microsoft Account you already have

3. On the signup page, fill the form and accept the terms and conditions of the program, and click next

4. Continue with a subscription set-up. You should specify the region where you want to create your new tenant, create a username, domain and enter a password. This step will create a new tenant and an administrator account of the tenant.

5. Enter the security information which is required to protect the sensitive administrator account. Complete this step by setting up MFA authentication for your admin account.

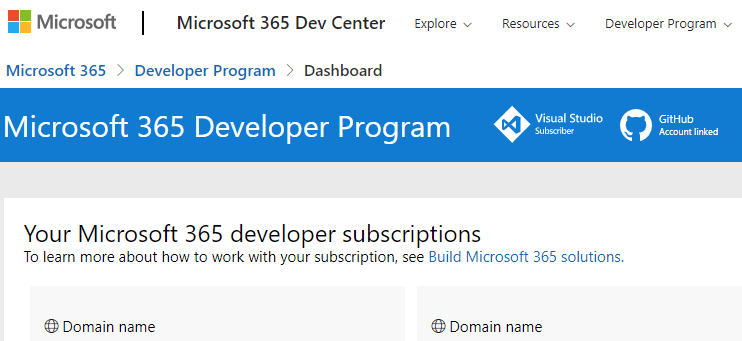
6. Link your developer account with your GitHub account for an easy renewal. You should see the following GitHub account link blue banner, once the linking operation succeeds.

Congratulations!
You have created a new Azure AD tenant with 25 E5 user licenses. This also includes Azure AD Premium licenses.

As an additional perk, you can also add sample data packs with users, Mail & Events and SharePoint, as sample data for your development environment.

Good Luck on your next M365 project!

Stay tuned for more Azure AD, Automation & Security related posts.

FแดสŸสŸแดแดก แดแด‡ ๐ŸŽฏ แด€ษดแด… become แด€ #cloudmarathoner โ›…๐Ÿƒโ€โ™‚๏ธ๐Ÿƒโ€โ™€๏ธ – ๐‹๐„๐“’๐’ ๐‚๐Ž๐๐๐„๐‚๐“ ๐Ÿ‘

Hardening parameter inputs on Azure Bicep files

Hello Cloud Marathoners,

In my previous Azure Bicep post, I wrote about four parameterization options that could be used with Bicep language. We also looked into the Azure Bicep resource templates, and how they help to author and manage Azure resources more cleanly and easily.

Azure Bicep Tips – Hardening parameter inputs

Now, I would like to share a couple tips on how to harden your parameter inputs. This will help you to avoid deployment errors that you could easily prevent by restricting and checking Bicep parameter values.

Tip # 1: Min and Max length of resource names

In our previous post, we have built and demoed the webapp-service-w-param.bicep file. It had no parameter input validation. Thus, that template is open for failures when you enter 'a' for the appServiceAppName input parameter. Here is the link to the repo.

webapp-service-w-param.bicep

However, it is pretty straightforward to avoid such false entries by checking the allowed name length of the Microsoft.Web/serverFarms resource in the Microsoft docs Resource name rules page.

Based on “Resource name rules” page we can add following functions:

The @minLength and @maxLength function are going to define and enforce min and max length of the parameter, while @description will help to define the purpose of the parameter.

Tip # 2: Defining purpose of the parameter

It is always helpful to add meaningful description to your parameters, even though it is not required by Azure Bicep template. Believe it or not, people who are new to your code will appreciate it. For example: we have a location parameter in our template, and adding the following description clarifies the purpose of this parameter for everyone, including myself, later in a month when I am re-visiting my code.

Tip # 3: Restricting parameter value entries that match your organization’s policy

The final tip is already revealed in our screen-shot above. It makes a valid and important sense to enforce your organization’s Azure policies on any provisioning scripts, in addition to the Azure Policies.

In our example: we are restricting deployment of Azure resources only into the following Azure regions to comply with the company policy to make every party happy.

Thus, I have shared a few tips that you could use to harden your Azure Bicep code and avoid some common deployment errors in advance.

Here is the complete view into our hardened webapp-service Bicep file:

Summary

Preventing deployment failures, especially the once that are caused by invalid input parameters are an easy fix on an Azure Bicep language. Checking the resource name restrictions and allowed values is one easy tip to prevent those errors. I would recommend checking the Microsoft documentation on “Naming rules and restrictions for Azure resources” and bookmark it for your reference.

Thank you ๐Ÿ™ for reading this post and learning how to prevent Azure Bicep deployment failures by hardening the input parameter values.

Please check out the Learn Bicep GitHub repo, and follow it.
Thanks, ๐Ÿ™ ๐Ÿ™Œ!

Stay tuned for more Azure automation & Azure Bicep posts.

FแดสŸสŸแดแดก แดแด‡ ๐ŸŽฏ แด€ษดแด… become แด€ #cloudmarathoner โ›…๐Ÿƒโ€โ™‚๏ธ๐Ÿƒโ€โ™€๏ธ – ๐‹๐„๐“’๐’ ๐‚๐Ž๐๐๐„๐‚๐“ ๐Ÿ‘

Four parameterization options for your Azure Bicep deployments

Hello Cloud Marathoners,

In my last posts, I wrote about Azure CL and a Bicep language. The Azure Bicep language, helps to author and manage Azure resources more cleanly and easily on your Azure subscription.


The parameterization of infrastructure deployment files is an important skill where true power of automation and code reuse comes forward.
Let’s learn about different parameterization options that you could use in your Azure Bicep deployments. As an example, we will examine the following parameterization options on an Azure Bicep web app deployment file.

โœ”๏ธ Using Bicep file as is

โœ”๏ธ Using default parameters on your bicep file

โœ”๏ธ Simply adding parameters into your command line

โœ”๏ธ Using a separate file for parameters, per environment

Option 1: Using Bicep file as is

This first option is the most straightforward way to declare your parameters. However, you would have to enter each parameter name, every time you are deploying the Azure resources.

Following screenshot is a default Bicep web app declaration with parameters. Check the Learn Bicep repo here ๐Ÿ‘


Now, let’s declare an Azure CLI command that will deploy our Azure Bicep file into a Resource group.

# Create a rg-test-deploy RG
az group create -l eastus -g 'rg-test-deploy'

# Option-1: Run deployment file as is
az deployment group create -g 'rg-test-deploy' -f .\param-files\webapp-service-w-param.bicep

# List all webapps in the subscription
az webapp list --query [].name -o table

Option 2: Using default parameters on your bicep files

The second option will allow us to deploy our Bicep file without entering the default values each time. However, it would require an update on file each time you want to change parameter values ๐Ÿ˜ข

Now, we can take the previous webapp-service Bicep file, and add its default values. The updated Bicep file will look like the following screenshot:


Our Azure CLI deployment script would just get a new file name

# Option-2: Run deployment with default values
az deployment group create -g 'rg-test-deploy' -f .\param-files\webapp-service-default-param.bicep

# You could also add preflight check with "-c" at the end of each deployment script

Option 3: Simply adding parameters into your command line script

If you would prefer to type parameters and values on a terminal then third option can deliver it for you. That script will look like the following sample:

# Option-3: Run deployment with inline parameters
az deployment group create -g 'rg-test-deploy' -f .\param-files\webapp-service-w-param.bicep -p location='eastus' appServiceAppName='param-demoapp18' appServicePlanName='asp-param-demo'

Option 4: Using a separate file for parameters, per environment

The last option has multiple advantages over prior options. As you could create separate environment parameters in their own dedicated files and manage them accordingly.
For example: You can create a separate param file for “Dev” environment deployments; like in the following screenshot.

Note: parameter files for Bicep language are using a JSON notation, similar to the way how ARM JSON declares parameter files with a following schema.

"https://schema.management.azure.com/schemas/2019-04-01/deploymentParameters.json#"

And our deployment script will look like the following sample:

# Option-4: Run deployment with a separate parameter file
az deployment group create -g 'rg-test-deploy' -f .\param-files\webapp-service-w-param.bicep -p .\param-files\webapp-service-parameters-dev.json

# List all webapps in the subscription
az webapp list --query [].name -o table

# Clean all resources from RG
az group delete -n 'rg-test-deploy' --yes

Summary

Thank you ๐Ÿ™ for reading this post and learning about four different options to deploy your Azure Bicep files using Azure CLI.

Please check out the Learn Bicep GitHub repo, and follow it.
Thanks ๐Ÿ™ ๐Ÿ™Œ !

Stay tuned for more Azure automation & Azure Bicep posts.

FแดสŸสŸแดแดก แดแด‡ ๐ŸŽฏ แด€ษดแด… become แด€ #cloudmarathoner โ›…๐Ÿƒโ€โ™‚๏ธ๐Ÿƒโ€โ™€๏ธ – ๐‹๐„๐“’๐’ ๐‚๐Ž๐๐๐„๐‚๐“ ๐Ÿ‘